When I started learning manufacturing design, I found that most of the education focuses on learning how to use CAD software.
The more academic learning pathways tend to be more focused on mathematical proficiency, industry standards, business education, and other job related information.
However, there’s less education that focuses on design fundamentals — skills that work in any CAD software or industry.
So I ended up developing my design process through a lot of trial and error. Also, watching other engineers and designers work contributed a lot of knowledge to my process.
For the sake of this article, I named my design process the “3-2-3 design process.” It’s a catchier name that makes it easier to remember… And shorter to write.
Here’s what that catchy name means.
The 3-2-3 design process
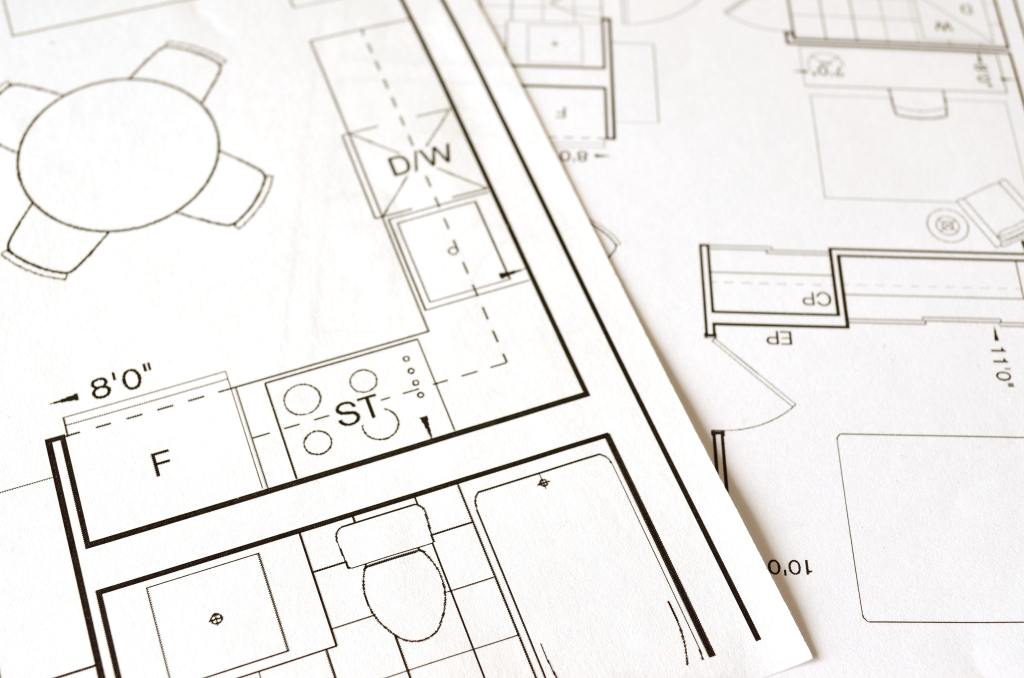
When you first start working on a design in any CAD software, the thing you’re designing will usually be in some sort of three-dimensional state.
Usually, we imagine things in 3D. You may have a picture or rough sketch of the object, which are also typically in something approximating 3D. If you’re lucky, you’ll have some 2D design drawings to work from.
In any case, though, you can’t just plug the 3D object into your design software and get a usable model. That’s the point of the 3-2-3 design process.
3
Any object is really just a collection of lines and curves. Things in the real world exist in three-dimensional space. And a series of profiles connect the lines and curves to create a 3D object.
So the first step in designing any object is to identify the lines, curves, and profiles.
The goal at this stage is to spot shapes and patterns. That way you can start building a plan to use design tools to create (or recreate) the object.
Yes, most design software has some sort of fluid design capability that enables you to draw an object and model it like clay.
But I find that it’s much more efficient to use the predefined shapes and curve functions as much as possible.
Why try to hand draw a square when you can drag and drop one? I can’t even draw a circle. A computer has to do that for me (though I will sketch things on paper, if I don’t have a picture or graphic to start with).
And, even if you don’t need an exact geometric shape, it’s often easier to start with basic geometry and build it or trim it into a more refined shape.
Of course, sometimes you must do free form modeling. But you want to know this before you dive into designing. And, again, it’s commonly more efficient to start with a cube or some other basic shape and model it into what you need.
Once you’ve identified the lines and shapes, then it’s time to start refining your plan to model the object.
2
This is the step that I messed up more than I’d like to admit when I first started learning my design software and how to model stuff.
You’ll almost always have to start with a sketch, then use solid modeling tools to build that sketch into a 3D object.
And that means that you’ll have to choose a key profile to use for your first sketch. Choosing a key profile can be deceptively challenging.
More than a few times, I’ve created a sketch, executed my extrude or loft or whatever, then discovered that the profile I started with made it difficult or impossible to model the other sides of the part.
For example, this is a wheel well from a piece of luggage.

The client sent pictures for modeling the component so they could 3D print a replacement.
The client sent a picture of each side. And I had to choose a profile to start with.

This second profile was not a good option because it didn’t enable me to create the base shape of the component.
Ultimately, that’s what you’re looking for when you choose your starting profile for modeling: the base shape. You need to create the core of the object so that you can the model the other details and shapes of the part.
In this case, if I had chosen the profile that looked directly into the wheel well, it would have been difficult or impossible to model the corner curve, mounting holes, and the wheel well shape.
It was much better to start with the profile in the first picture. That way I could create a block, then carve out all the details.
This is a pretty straightforward example. But I chose it because the difference between the profiles is so stark.
Identifying the best starting profile can be more challenging with more complex objects. It’s important to take a little time and flesh out your plan to model the object.
That way you can think ahead and choose a starting profile that makes it easier to model the other sides of the object.
3
This is where you cement your modeling plan and create your object. I labeled this last step “3” again because it’s where you turn the object into a 3D model based on your 2D sketch or sketches.
The tools and methods will vary slightly, depending on your design software. And I have some tactics for using your modeling tools efficiently, which I’ll talk about in additional articles.
But — if you’ve thoughtfully identified the lines and curves of the object, and wisely selected a starting profile — this step will be a relatively straightforward process. And I find that going through the proper planning in the first two stages gives this last stage a very logical flow.
I start with my base profile, create a core 3D body or component. Then I can use my various design tools to add model details and features.
Putting the process to work
One last reason why I use this process: it helps break large projects down into manageable tasks.
If I have a large assembly that has multiple components, I go through this process for each individual component. That way I can model a component, then start the process again for the next component.
This 3-2-3 process organically creates project phases, without intensive project management. For me, this process helps minimize hangups and streamlines my design work.
If this design process makes sense to you, or even if it doesn’t, maybe give it a try. Even if the overall process isn’t for you, it might help you find your own design workflow.

2 responses to “3-2-3 Design Process”
[…] However, if you identify the critical dimension first, it simplifies the entire design process. […]
LikeLike
[…] are my thoughts and the design processes I’ve developed to use the origin more […]
LikeLike